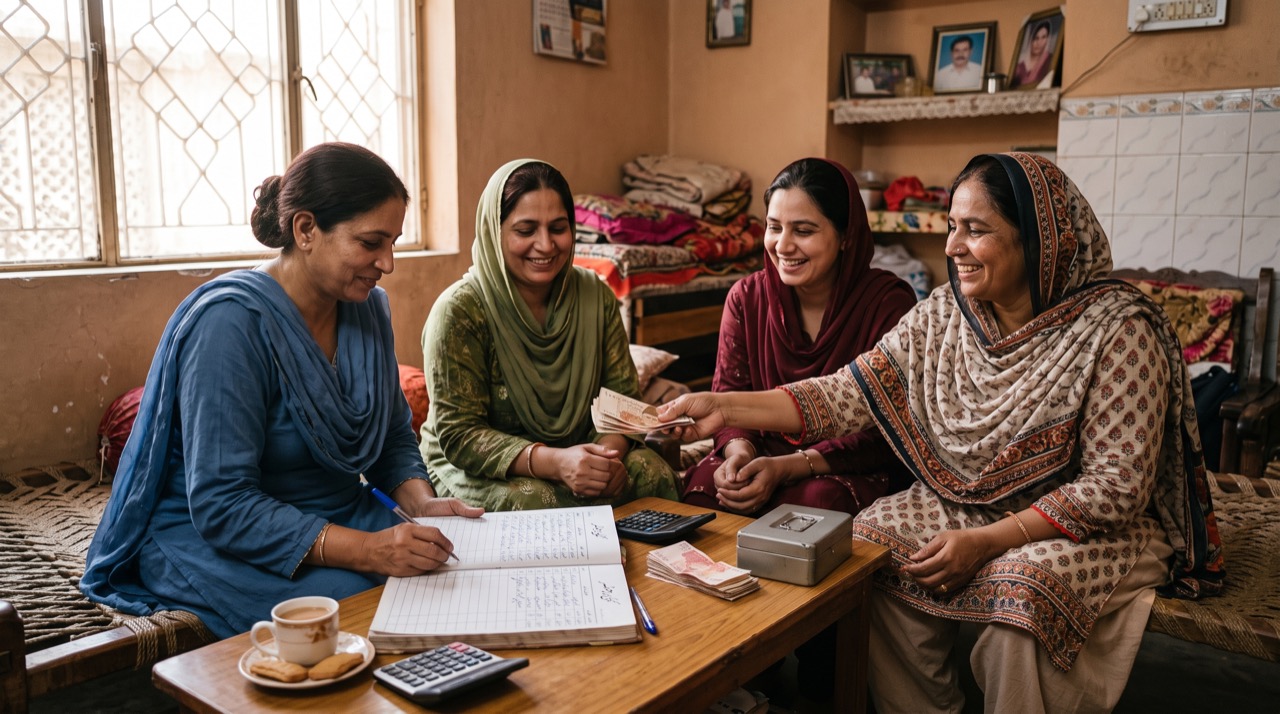
Payday feels great for about a week, and then the money quietly disappears into groceries, mobile load, a wedding gift, and three "just this once" orders from a food app. If that sounds familiar, you don't have a spending problem — you have a visibility problem. A monthly budget fixes that by simply making your money visible before it leaves your account, not after. This guide walks salaried readers in Pakistan through building a first budget in under an hour, using nothing more than a notebook or the Notes app on your phone.
Step 1: Write Down Your Real Monthly Income
Start with the number that actually lands in your bank account or hand, not your gross salary slip figure. If you're on a fixed salary, this is easy. If you freelance or have variable income, use the average of your last three months, and lean toward the lower figure to stay safe.
- Take-home salary after tax and provident fund deductions
- Side income — tuition, freelance projects, a small shop, rent from a portion of your house
- Irregular income like bonuses or overtime — list separately, don't count on it monthly
Write this as one clear number at the top of your page: "Monthly income: Rs. X." Everything else in this budget answers to that number.
Step 2: List Every Fixed Bill You Cannot Avoid
Fixed expenses are the ones that repeat every month at roughly the same amount, whether you like it or not. Listing them fully is where most first-time budgeters get surprised — the total is usually higher than they expected.
- House rent or loan installment
- Electricity, gas, and water (use last 3 months' average from your bills)
- Mobile and internet packages
- School or college fees for children
- Transport — fuel, van fare, or ride-hailing budget for commuting
- Loan or BNPL installments (credit card minimum, easy installment plans)
- Domestic help or watchman charges, if applicable
Add these up and subtract the total from your income. What's left is what you actually have for food, savings, and everything else — and this is usually smaller than people assume.
Step 3: Set Aside Savings Before You Spend, Not After
This is the single biggest shift between people who save and people who don't: savings has to be treated like a bill, not like whatever is left at month-end. If you wait to "see what's left," the answer is almost always zero.
A budget doesn't ask "how much can I save this month?" It asks "how much do I need to spend after saving?" — the order matters more than the amount.
Even Rs. 2,000–5,000 a month is a real start. Move it to a separate savings account or a committee (BC) the same day you're paid, before it mixes with spending money. If your bank offers a free savings account with no minimum balance, even better — check your bank's own site or the State Bank of Pakistan for basic consumer guidance on account types.
Step 4: Budget the Flexible Spending — and Track It Weekly
What's left after bills and savings is your flexible budget: groceries, eating out, clothes, mobile load top-ups, gifts, and small pleasures. Split this into 3–4 categories with a rough cap on each, then check your spending every week, not just at month-end — a weekly glance catches overspending while you can still fix it.
- Groceries and household — usually the biggest flexible category
- Transport top-ups and fuel beyond the fixed commute
- Personal and family spending — clothes, outings, small gifts
- A small buffer for the unexpected — a doctor's visit, a flat tyre, a friend's wedding envelope
Keep it simple. A notebook with four columns, or a basic phone Notes list updated every Sunday, works better than a complicated spreadsheet you'll abandon in two weeks. The goal isn't a perfect system — it's a habit you'll actually keep next month, and the month after that.
Roman Urdu
Salary aane ke baad pehle hafte mein achha lagta hai, phir paisa groceries, mobile load, aur "sirf ek baar" wale online orders mein chupke se khatam ho jata hai. Iska matlab yeh nahi ke aap ziyada kharch karte hain — matlab yeh hai ke aapko pata nahi hota paisa kahan ja raha hai. Monthly budget isi ko theek karta hai: paisa nikalne se pehle usay likh kar dekh lena.
Step 1: Apni Asal Income Likhein
Woh amount likhein jo har mahine bank account ya hath mein aata hai — gross salary slip wala number nahi. Agar freelance ya variable income hai to pichle teen mahinon ka average lein, aur thora kam number rakhein taake surprise na ho.
Step 2: Fixed Bills Ki Poori List Banayein
Ghar ka kiraya ya installment, bijli-gas-pani ke bills, mobile aur internet, bachon ki school fees, transport, aur koi bhi loan ya easy installment — sab likhein. Zyada tar logon ko yahan pehli baar pata chalta hai ke fixed kharch kitna zyada hai. Income mein se yeh total minus karein — jo bacha woh aapka asli spending budget hai.
Step 3: Pehle Bachat, Phir Kharch
Sab se bari tabdeeli yeh hai: bachat ko bhi ek bill ki tarah treat karein, mahine ke aakhir mein jo bache usay nahi. Salary milte hi Rs. 2,000 se 5,000 alag account ya committee mein daal dein — chahe kam ho, shuruat zaroori hai.
Budget yeh nahi poochta "is mahine kitna bach sakta hai" — yeh poochta hai "bachat ke baad kitna kharch kar sakta hoon."
Step 4: Bachi Hui Raqam Ko Categories Mein Baant Kar Track Karein
Groceries, transport ka extra kharch, personal aur family spending, aur ek chhota buffer emergency ke liye — inko alag alag rakhein aur har haftay check karein, sirf mahine ke akhir mein nahi. Ek simple copy ya phone ki Notes app kaafi hai — mushkil spreadsheet banane ki zaroorat nahi, bas woh tareeqa chunein jo agle mahine bhi istemal kar sakein.